Frequently Asked Questions
Fly6 GEN 3
Compared with previous Fly6 models the Fly6 has optimised battery life, new intelligent features to increase usability and improved recording capabilities.
Improvements include:
- 30% lighter than the Fly6 CE GEN 2, the Fly6 GEN 3 weighs only 77g
- Battery life optimised to 5 hours recording in camera only mode and 4 hours recording capability with low flash light setting
- Fly6 GEN 3 weighs 77g
The Fly6 GEN 3 has an all new smaller and smarter look. The Fly6 was redesigned to allow for the following features without compromising existing features;
- Smaller lightweight design
- Optimised battery performance
The Fly6 GEN 3 has the same quick release system as the Fly6 CE GEN 2, meaning all mounting accessories are compatible with both products. These incudes the universal adapter, the handlebar mount and the duo mount.
Due to the reduced size of the Fly6 GEN 3, unfortunately the Fly6 CE silicone case and lens protectors are not compatible. But specific Fly6 GEN 3 silicone cases and lens protectors are available.
The Fly6 is water resistant with a rating of IP56.
Please be sure to close the rubber flap on the side of the Fly6 before each ride.
The Fly6 GEN 3 does not have image stabilisation. We have found that the images generated are of high enough quality to capture essential details should you need them.
There are 2 different resolution settings you may select to record your ride in.
- 1280x720p @60fps
- 1920x1080p @30fps
The Fly6 has a feature called incident protection mode. This needs to be enabled upon turning the device on for the first time, as it is not turned on by default out of the box. This mode ensures whenever your Fly6 is tilted more than 60° from vertical (or 30° from the ground) for more than five seconds the footage will be automatically saved and stored without being overwritten.
Yes. It is easy to take a photo with your Fly6 by pressing and holding the Q button. This is a useful feature should you wish to capture a specific image rather than scrolling through video footage to take a screenshot.
Yes. You can protect video footage from being overwritten manually by pressing the Q button on the side of the Fly6. This is useful whenever something occurs that isn’t triggered by incident protection mode. An example might be when there is a close pass by a vehicle, or you see something happen to somebody else that you want to capture for them.
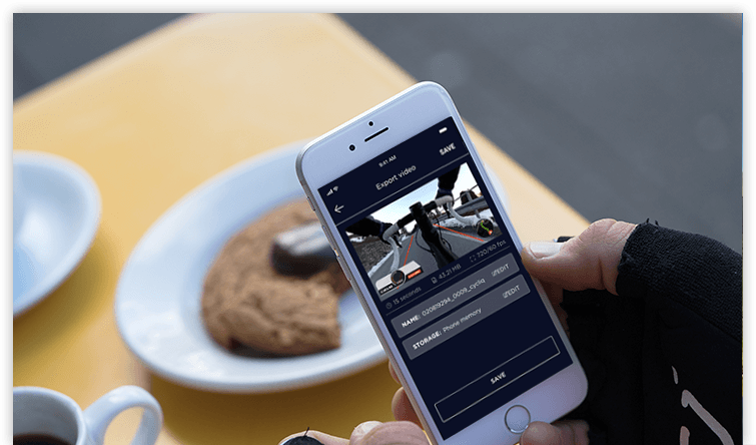
You can view and edit footage using the CycliqPlus app on your mobile or Desktop.
After your ride, you can access your footage in a variety of ways;
- Connecting the Fly6 to a desktop using the supplied USB cable.
- Using a Cycliq microSD OTG Card Reader
Please note: the Fly6 GEN 3 needs to be turned on if connected directly to another device.
Yes! Using the CycliqPlus app on Desktop you can overlay STRAVA metrics and share highlights from your ride.
We recommend you register your Fly6 with Cycliq, to ensure you receive notifications of firmware updates, feature upgrades and user tips. Registration will also allow us to deliver the fastest possible response if technical or warranty support is ever required.
Fully charge your device with the included USB-C cable before turning on. Once fully charged, hold the power button for 3 seconds to turn on.
Before using your Fly6, download the CycliqPlus app for iOS or Android. This will assist in navigating the features of your Fly6; selecting the desired settings for light and camera modes.
Will the resolution setting I choose impact the battery runtime?
There will be noticeable differences in runtime across multiple settings.
To update your firmware, download the Mac or Windows CycliqPlus Firmware Updater app from the links below, open on your desktop and follow the on screen instructions. Firmware will be updated to the latest version. Visit our CycliqPlus Firmware Updater download page at cycliq.com.
Yes. If a factory reset is required, the reset button is located under the rubber side flap containing the within the charging and memory card ports. Press this button with a thin object (like a paperclip) for 3 seconds.


 Fly6 Pro
 Fly12 Sport
 Fly6 GEN 3
 Compare
 Ultimate Bundle
 Essential Bundle
 Fly6 Pro
 Fly12 Sport
 Fly6 GEN 3
 Mounts
 Cases
Cases Jackets
 View All Accessories
 Videos