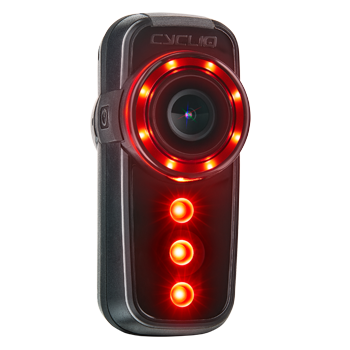
Updating your Fly6 CE firmware
Key updates
- Fixed a false trigger of Incident Protection mode – the unit now operates normally and only triggers Incident Protection when the normal conditions have been met.
- Improved battery level indicator when connecting via Bluetooth – there were reports of battery level readouts being displaying incorrectly in some instances, and this has been remedied.
There are a number of other small updates which are detailed at the bottom of this post.
How to update your firmware
First, please check if you have the latest firmware by checking the code on your CycliqPlus Desktop (Settings) app. Once you’ve downloaded the CycliqPlus Desktop (Settings) app and connected your Fly6 CE, you can scroll to the bottom of the desktop app to find out what firmware version you currently have. If the DSP firmware version reads V1.1.25.636, then you have the latest firmware. If not, please follow the steps below to update your firmware to V1.1.25.636.
IMPORTANT: There are two files included in this update, and each one will need to be installed separately – do not copy both files over at the same time.
Before you begin, please note:
- Make sure your unit is at least 50% charged before performing the firmware update.
- These firmware updates are not compatible with any other Cycliq devices (Fly12 CE, Fly6, Fly6[v] or Fly12).
- DO NOT complete a Master Reset OR remove the microSD card when the unit is in the process of completing a firmware update – this may damage your Fly CE device.
Step 1 – Download and transfer the first Firmware file (DFU)
Start by downloading the fly6.dfu file.
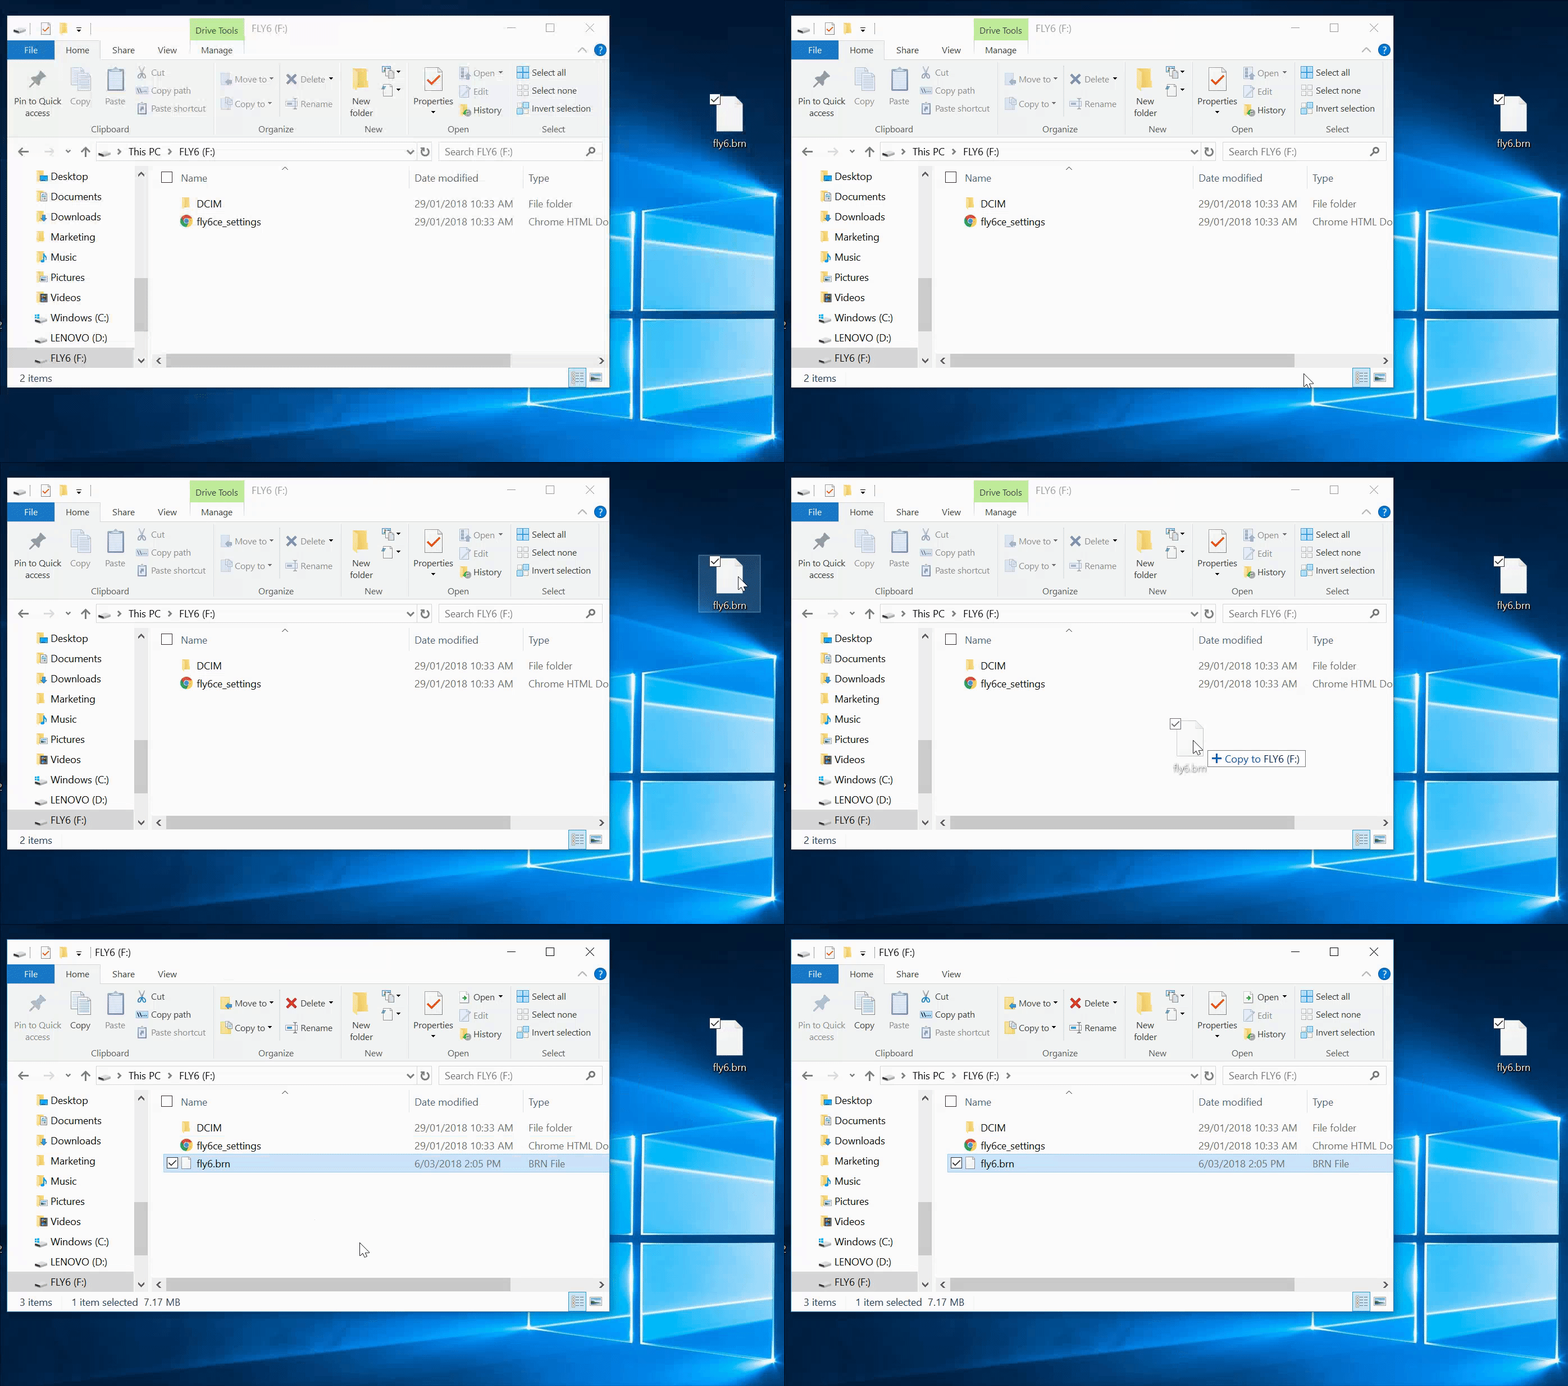
Then, plug in the Fly6 CE to your computer, and open the ‘FLY6’ drive that appears in ‘My Computer’ or in ‘Finder’. Drag the fly6.dfu file over to your Fly6 CE, then unplug your Fly6 CE.
Windows
Mac

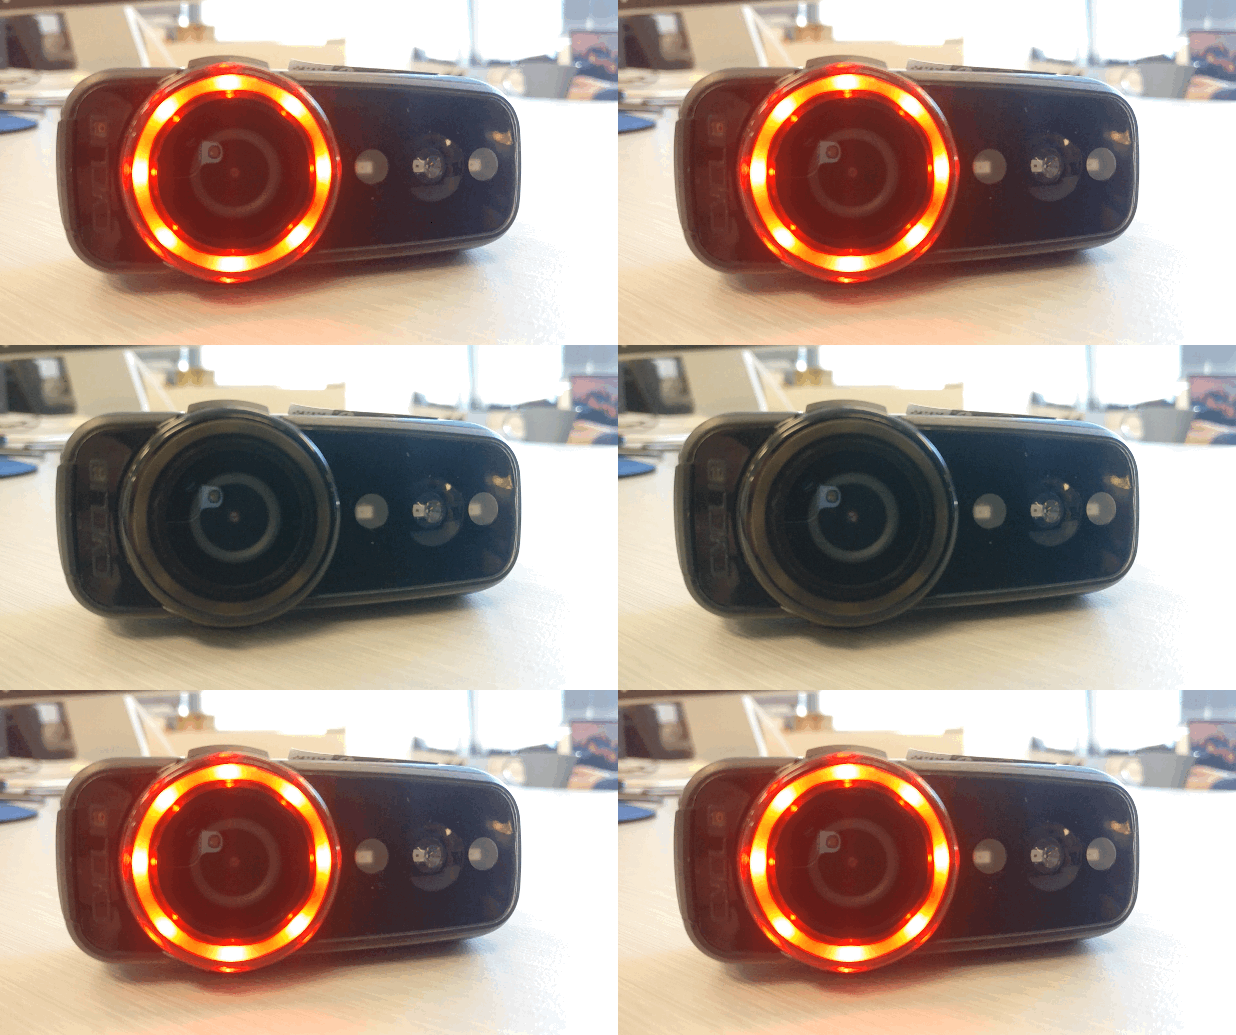
Turn your Fly6 CE on, and you’ll notice the flashing ‘Q’ LED in the Cycliq logo and one of the camera’s LEDs in the rotating bezel, will be on.
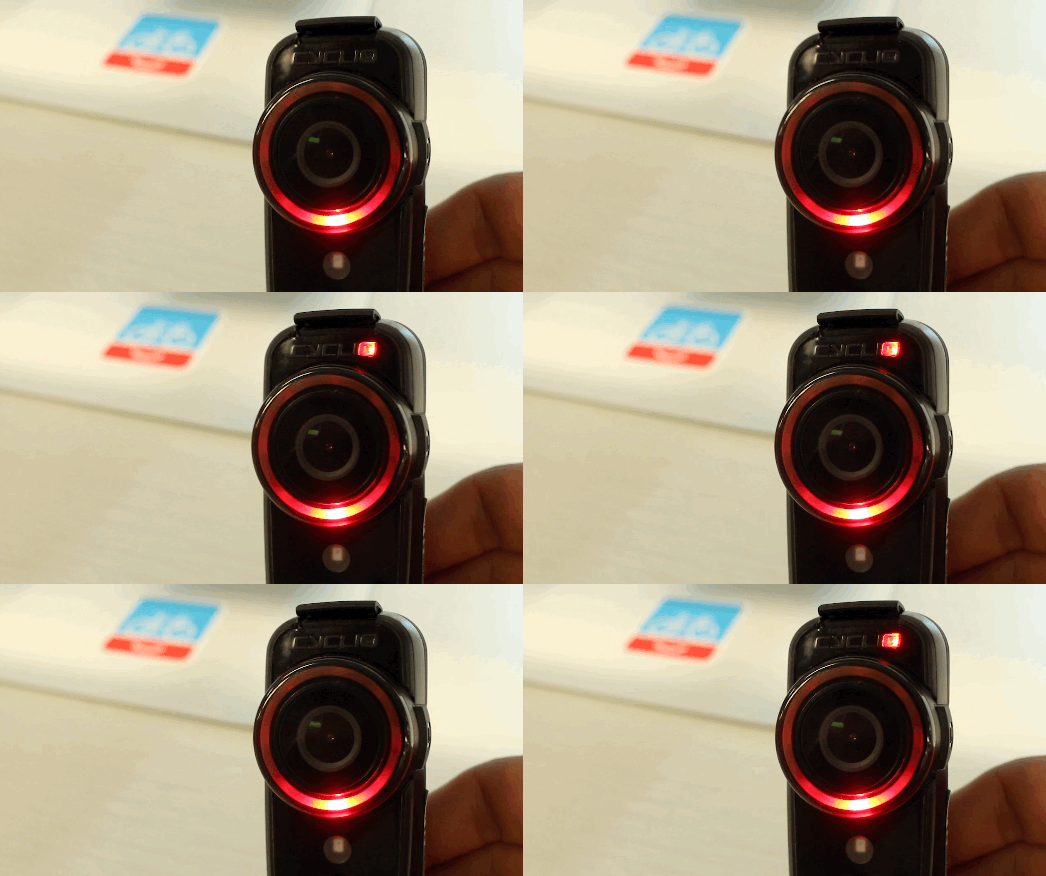
Wait roughly one minute until both lights turn off. This means the first part of the firmware is complete.
Step 2 – Download and transfer the second Firmware file (BRN)
Next, download the fly6.brn file, then plug your Fly6 CE back into your computer and copy over the fly6.brn file to the FLY6 SD card.
Windows

Mac

Disconnect the Fly6 CE, and turn it on. This time, only the flashing ‘Q’ LED will be on.
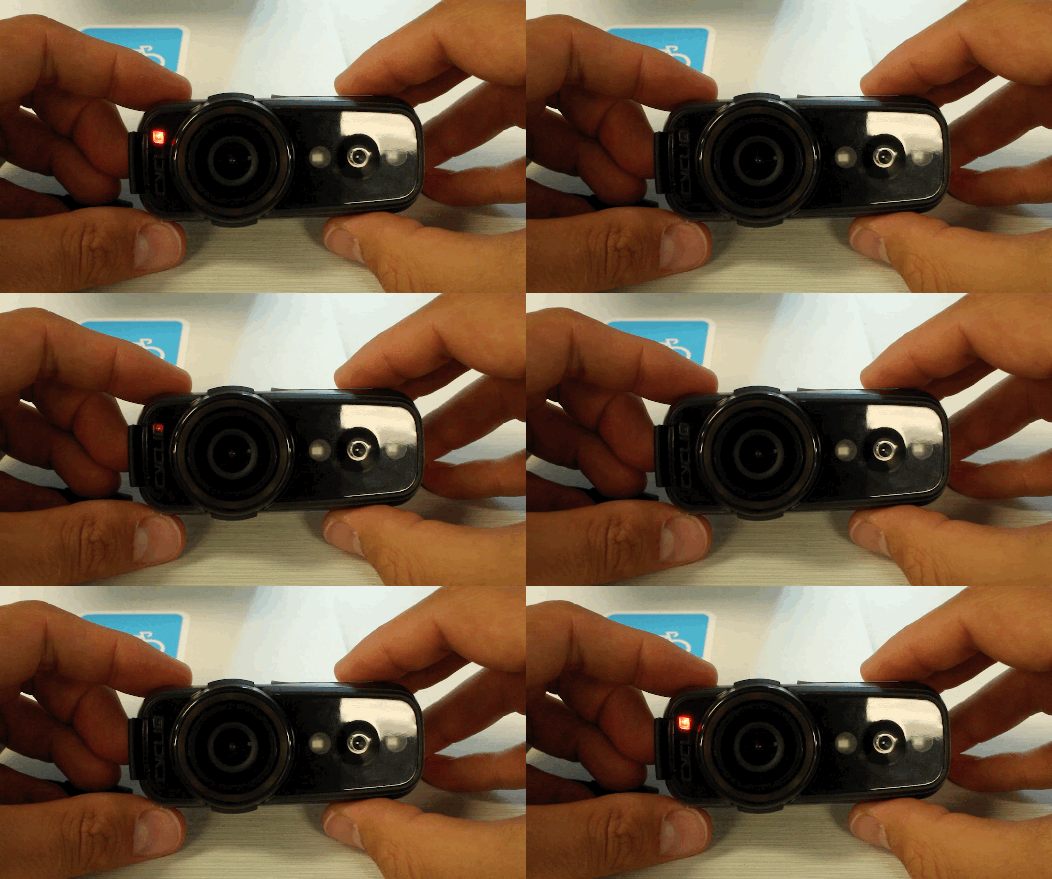
Wait roughly one minute until the flashing LED stops, and the installation is complete. You can then connect to your Fly6 CE bike camera via the CycliqPlus desktop app to double-check whether the firmware has been updated.
After you have updated your Firmware
If you notice your Fly6 CE is behaving as if there is no microSD card inserted (all LEDs on the device blink simultaneously accompanied by three beeps), you will need to re-format your microSD card. Apologies for this inconvenience.
Additional update notes (V1.1.25.636):
- The Fly6 CE’s name now uses the last 4 digits of its serial number to make it easier to locate via Bluetooth.
- Changed the Fly6 CE’s reaction to an incorrectly formatted microSD card. Now, after fix, if card is in inappropriate format, the “error” warning flashes, with all bezel LED’s together, and “no SD” audible warning sounds.
- The Fly6 CE’s charging LED will no longer bounce between green and red when fully charged.
- You are now able to stop recording via Bluetooth after Incident Protection mode has been enabled.
- Fixed a particular light pattern issue whereby if light mode is off-enabled and left with either solid mid or solid low and all flash disabled, pulse mode would be ignored.
- Fixed the LED pattern change when the Fly6 CE is asleep for three minutes, some light modes are forgotten.
- Fixed recording so that there cannot be recordings of 0 seconds – all files must be at least 2 seconds long.
- Fixed timing issues for manually turning the alarm off – it is now more accurate to the intended 8 seconds.
- Fixed unintentional Airplane mode sound when trying to manually turn the alarm off – holding the button for 2 seconds would usually sound Airplane mode, which can be confusing.
- Fixed LED pattern changes once the alarm mode has stopped – there used to be a flash sequence change after the alarm is triggered and stopped, but this no longer happens.
- Fixed watermark feature with Electronic Image Stabilisation – there wasn’t any watermark or timestamp when this feature was turned on, but this has been fixed.
- Fixed issue with the light mode switching after Airplane mode being switched on.


 Fly6 Pro
 Fly12 Sport
 Fly6 GEN 3
 Compare
 Ultimate Bundle
 Essential Bundle
 Fly6 Pro
 Fly12 Sport
 Fly6 GEN 3
 Mounts
 Cases
Cases Jackets
 View All Accessories
 Videos