


 Fly6 Pro
 Fly12 Sport
 Fly6 GEN 3
 Ultimate Bundle
 Fly6 Pro
 Fly12 Sport
 Fly6 GEN 3
 Mounts
 Cases
Cases Jackets
 View All Accessories
The Fly12 CE is an unsupported Fly device, check out our latest Fly devices.
Please follow all the steps to ensure your camera doesn’t separate from your bike during use.
Step 1: Installing the safety tether

- The hole to insert the tether is on the bottom edge of the back panel on the Fly12 CE (far left, central in the image below):
- Insert the tether into the hole near the speaker (use a pin to pull it out of the small hole)
- Pull the tether in through itself to create a loop and tighten.
Step 2: Mounting the Fly12 CE to your bike
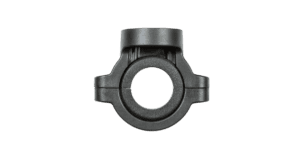
The handlebar mount included with the Fly12 CE is designed to fit 31.8mm handlebars.
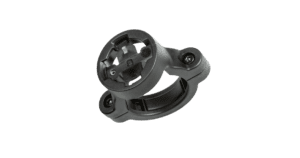
For smaller sized handlebars, insert the 22.2mm rubber adaptor into the mount.
To install the handlebar mount:
- Attach appropriate rubber adapters as needed onto the handlebar mount
- With the mount facing up, remove screws, clamp mount around handlebars install and tighten screws
- Twist to adjust the mount to the desired position – you can either mount the Fly12 CE above or below the handlebars
- Hand tighten the screws so that the mount is firmly attached to your handlebar
Note: Do not over tighten the screw as this will damage the mount. Do not tighten with a torque wrench.
If you have positioned your mount:
- Above handlebar – insert the Fly12 CE at the 10 o’clock position and turn clockwise to lock in.

- Below handlebar – insert the Fly12 CE at the 2 o’clock position and turn counter-clockwise to lock in.

Ready for your first ride? Check out Start Up and First Ride.